Pages

What joy the gospel gives me. I can approach the throne of God with confidence, not because I've done a good job at my spiritual duties, but because I'm clothed in the righteousness of Jesus Christ. ~ C.J. Mahaney

Elephant Ears


This fun recipe goes way back to when my boys were little.  Tom's sister, Lynn, gave them a little paperback cookbook titled Alpha-Bakery, by the Gold Medal flour company.  I presume she ordered it right off a sack of flour.  Between the covers of our well-worn copy are twenty-six kid-friendly recipes that start with each letter of the alphabet.  A for Apple Crisp.   B for Banana Bread.  C for Chocolate Chip Cookies.  You get the idea.  While we've tried quite a few of them over the years, especially when there has been a youngster in the house learning his/her letters, our all-time favorite by far is E for Elephant Ears.  

The recipe makes four giant, pastry-like, cinnamon and sugar filled cookies, thus the name "Elephant Ears."   I quickly discovered that doubling this amount was the only way to go.  With twice the dough, we can make anywhere from eight to ten of these delicious treats in a hurry.  It doesn't call for any eggs, which is a plus because that is usually the only ingredient I'm ever out of.  

Try these soon!  You're going to be a quick convert, just like we were!

Stir together flour, sugar, baking powder and salt.

Stir in milk and melted butter to form a soft dough.

Flop it on a floured counter and knead about 10 times.

Roll it out to a rectangle, 9X5 inches.  
Spread with remaining melted butter and 
sprinkle with mixture of sugar and cinnamon.

Roll up jelly-roll style, then cut into four equal pieces.

Place cut sides up on cookie sheet or baking stone.  Pat into a big circle!
Bake for 8-10 minutes. 
Let cool on rack.

Elephant Ears
(single recipe)

  • 1/4 cup butter
  • 1 cup all-purpose flour
  • 2 tablespoons sugar
  • 1/2 teaspoon baking powder
  • 1/2 teaspoon salt
  • 1/3 cup milk
  • 3 tablespoons sugar
  • 1 teaspoons cinnamon
  • more sugar for sprinkling
Heat the oven to 425 degrees.  Grease cookie sheet.  Melt butter and set aside.  Stir flour, 2 tablespoons sugar, the baking powder and salt in a mixing bowl. Stir in milk and 3 tablespoons of melted butter until dough forms.  

Sprinkle surface with flour.  Turn dough onto surface.  Knead 10 times. Roll dough with rolling pin or pat with hands into a rectangle 9X5 inches.  Brush with remaining melted butter.  Sprinkle with mixture of 3 tablespoons sugar and the cinnamon.  Roll dough up tightly beginning at narrow end.  Cut into 4 equal pieces with sharp knife.  

Place cut sides up on cookie sheet.  Pat each one into a big circle.  Sprinkle with more sugar.  Bake until golden brown, 8-10 minutes.  Remove and let cool on wire rack.


Watch them disappear!


Love,

Easy Dresden Plate


With just a few days before we start school, I've been taking the opportunity to stitch up a couple projects while I have some free time.   This is a little quilt I've been working on the past couple days.   Reminiscent of days gone by, Dresden Plate is probably one of my favorite old-time quilt designs.  It's perfect for scrappy quilters like myself who need to reduce their scrap stash.  If you read the sewing room dig-out post, you witnessed just what a scrap saver I am!

That handy acrylic tool up there is what I use to cut out the 20 pieces which comprise the spokes of the Dresden.  Couldn't be simpler. 

 
It stays simple, too.  I just fold the pieces in half at the widest part and stitch them together in a 1/4" seam.


I chain-piece, which means I just keep feeding them through the machine without stopping.  


Whee!

I clip them apart and turn the points outward, pressing them lightly with the iron.


I did lay them out to achieve a balanced placement of the colors and number them with a fade-away pen before stitching them together to form a circle.


Here they are all sewn together.   This single Dresden will be appliqued to a fabric back and will have a little embroidery in the center.  I'll quilt it by hand to finish.

When it's completed, I'll show you the end result.


Have a beautiful weekend!


Love,

Family Room Fixer-Upper


Furniture shopping isn't very high on my list of favorite things to do.   Well-made pieces are crazy expensive and my tastes quickly surpass my budget every time I start looking.  But that's what we've been doing the past couple weeks.  

Our previous family room furniture was in great shape structurally; it was just in poor shape fabric-wise.  Ten years have taken their toll on the fabrics, leaving them frayed and worn in places.  Lots of places.  Hoping to save money,  I first looked into having all three pieces (sofa and two overstuffed chairs) reupholstered.  Wham!  Sticker shock!  The labor estimate alone for reupholstering a sofa was $700.  Add fabric and we were looking at over $1000 to have just our sofa reupholstered!  Insane.

Being the DYI-type that I am, I considered (briefly) making slip covers for all of it.  I don't know how to reupholster, but I can work a sewing machine.  However, the thought was really overwhelming when I pondered the sheer quantify of fabric I'd have to wrangle under the machine.  Not really doable on such a large scale.  The risk of wasting several hundred dollars on a botched slip cover wasn't working for me.  Nor did I relish the idea of such a huge project looming over me for weeks.

I know, I know.  They make slip covers you can buy.  Tried that last year.  I spotted some at Target, purchased those babies for $80 apiece, came home and promptly starting trying to make them fit on my furniture.  Have you ever tried to put socks on a rooster?  Me either.  But I bet they would fit better than those slip covers did.  Back they went to the store that very day.

So, short story long....


We went furniture shopping and found reasonably priced pieces--two sofas and one chair this time.  One of the sofas has a bump-up chaise lounge.  I've called it.  Permanently.  If you're nice, I might let you sit there.  I let Jonathan last night.  (It was his birthday.)

The red sofa is a double sleeper.  The younger children don't remember our sleeper sofa days.  So they have no memories of family movie nights with the couch bed pulled out.  They're just a mite excited at the prospect.  Lacy called the aqua chair.  She may be duking it out with Hannah for that one, when Hannah is here.  Age may possibly trump youthful determination there.  I'll let them work that out.

There was no way I was replacing the ottoman at $250+ when I could revamp it easily with a couple yards of fabric.  I found this remnant that ties all three new pieces together.

Ryan volunteered to handle that for me.  OK, he didn't exactly volunteer, but he didn't object.  Pretty much the same thing.  Thanks, Ryan!  You did a super job!

So the new room is pulled together.  Meanwhile, the old sofa is waiting for Ryan to take it to Columbia;  the old blue rocker is in my sewing room, and the incredibly comfortable old red chair now has a home in the corner of my bedroom. 

I am resolved: in the next ten years, I will learn to reupholster furniture.

You just watch me.


Love,


Peanut Butter Chocolate Chip Muffins


The moment I took a bite of this fantastic muffin, I knew I had to share the recipe.  This incredibly delicious muffin recipe comes from our friends the Dexters who happen to live in Guangzhou, China.  Lacy came home telling me about them, the muffins, that is.  Then a few days later, they blogged the recipe for the whole world to enjoy.  So I'm passing it along to you now.  You will thank me, I'm sure.

I bake a lot of muffins.  Some are really good, some turn out so-so.  A very few are fantastic.  These fall in that last column.  I was actually surprised by how much I like them.  I love peanut butter, but I wasn't really sure about a peanut butter flavored muffin.  Just being honest here.  The chocolate was a no-brainer.  Always love that part.  Since everyone was raving about these, I followed their recipe to the letter and I was really, REALLY impressed!

The peanut flavor is actually very subtle.  I might not have even detected it if I didn't know it was there.  The muffin texture is very moist.  They're substantial but not heavy.   And in my opinion, they tasted even better the second day, if that is possible.  How many muffins can boast that distinction?  I don't know of any.

Visit this link on the Dexter's blog, dubbed Pearl River Diaries, to find the delicious recipe.  I have ulterior motives for sending you to their blog and not just reposting the recipe here.  While you're there, I want you to browse around their whole site.  Pat and her oldest daughters write great articles about their lives in China.  The most recent post on the home page, Called to Have Open Doors, is a highly recommended read.

Undoubtedly, the most important section of the blog is dedicated to orphan advocacy.  The Homes for the Lonely tab is where you can read about the precious children the Dexters work with weekly and with whom Lacy was privileged to spend several days.  Each of these children needs a home.  Perhaps you or someone you know would be interested in adopting one of them?  At the very least, you can pray for them to find mommies and daddies very soon. 

He makes a home for the lonely.
Psalm 68:6a


Don't forget to try the muffins!

Love,

An Organized and Creative Workspace


As much as I hate to admit it, summer is winding down around here.  While there are still seven or so weeks of summer according to the calendar, our summer break will be done in just over three.  That is actually later than we usually start school. 

Thoughts of school naturally put me in the mood to get more organized.  I'm adding in a new student, after all.  Caleb has had his fun year-plus to adjust to life in our family and learn English.  It's time for him to get on with the business of learning to read and do math.  

For quite a few years we have used the dining room as a school room.  We worked at the dining table and hid our mess behind the closed doors of a huge armoire.  When we adopted Caleb, it became necessary to give Lacy the sewing room and move all my machines, fabrics, notions, etc. to another place.  We decided to convert the dining room exclusively to a sewing/school room because it just made practical sense to do so.  Do I love having my sewing room open to the pubic on the first floor?  No, not really.  But there will be time again one day for another sewing room upstairs.   

Over the spring and summer, this room has gotten its share of use.  I've been making baby items like a crazy woman for Cradle Moon.  And in the process the room had really gotten turned upside down.  So before we started back with school, I knew it was going to take a serious dig-out to get it to where we could feel relatively at peace in the space.  I can only handle clutter for so long before I reach my breaking point.

So the past couple of days have been dedicated to cleaning up, digging out, and organizing the sewing/school room.  Maybe you'd like to see the progress I made?

First order of business was making pot of jasmine tea.  Definitely one of the sweet things in life.

Lacy loves her mama.  She brought me a boatload of jasmine tea from China last month!!

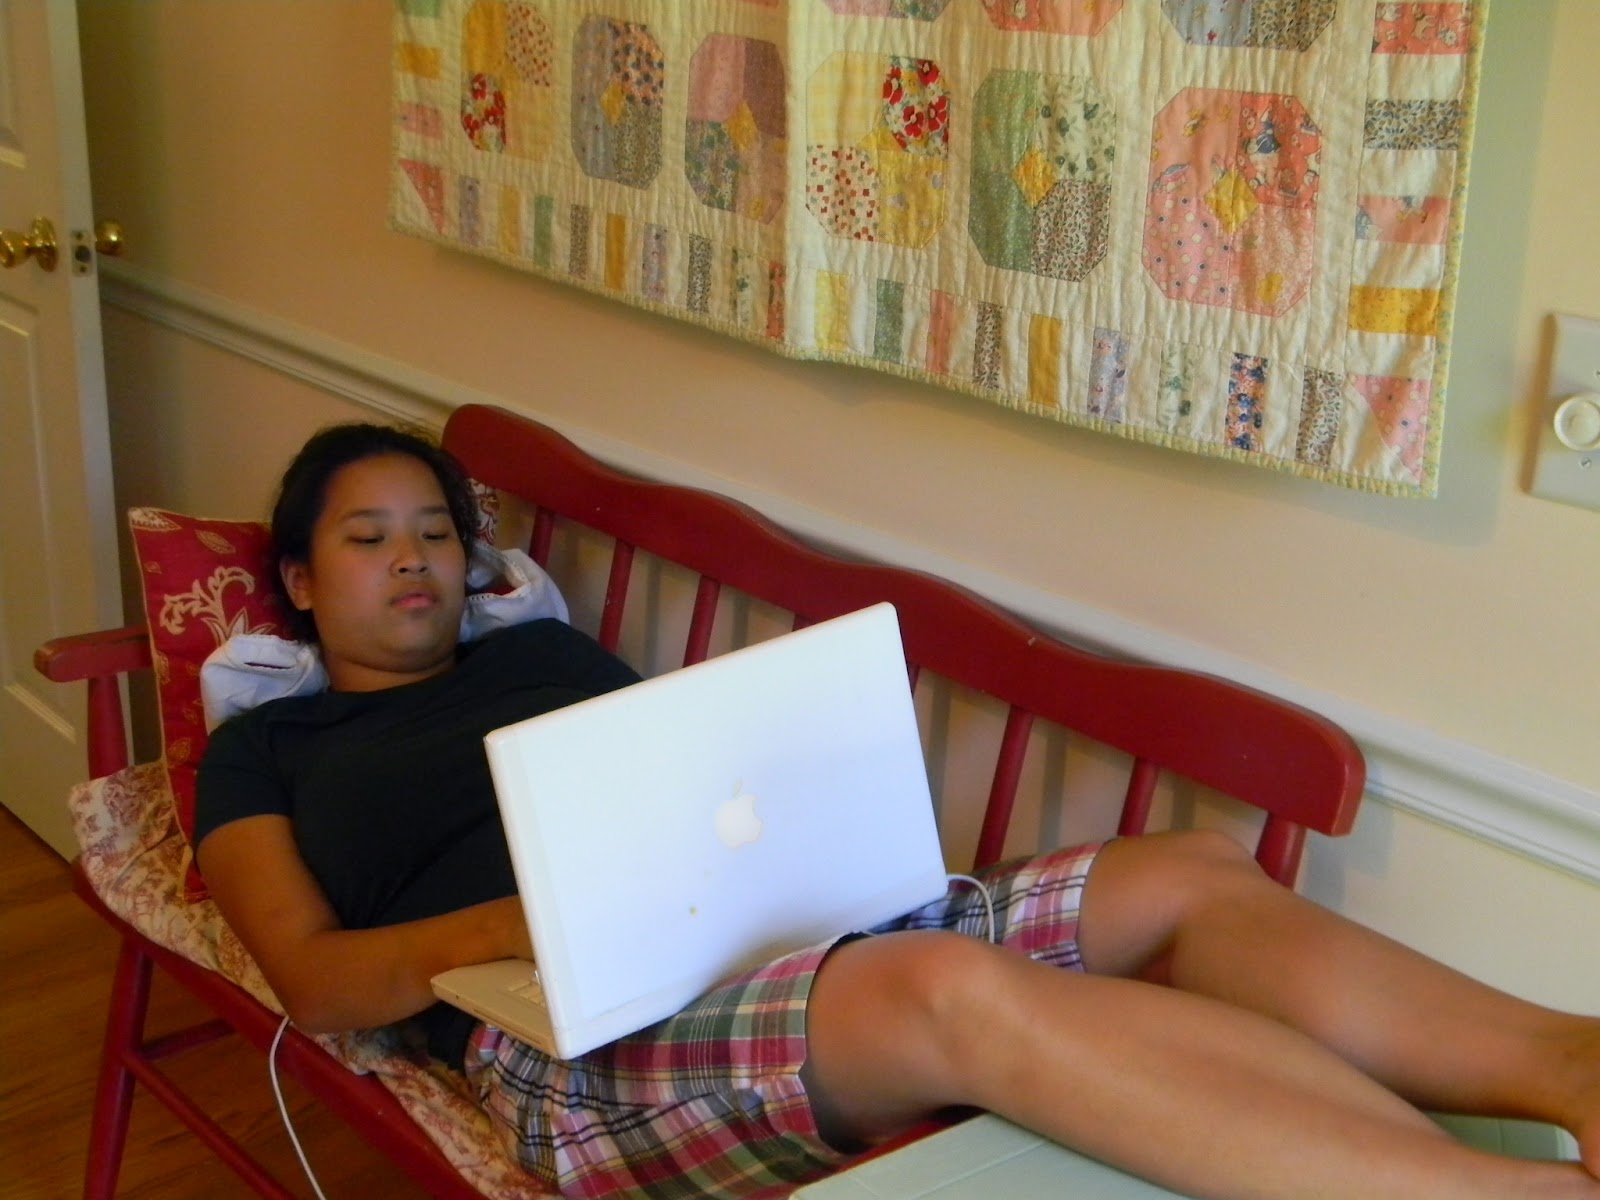
Speaking of Lacy, here she is keeping me company while I commence to digging in.  She's been really under the weather for about a month now.  She started with a slight cough on her way to China and it developed into a full-blown case of bronchitis.  Several rounds of antibiotics later, she is on the mend but moving s-l-o-w-l-y.

I started by dumping out all my scraps onto the floor.  I have a big ole' basket of scraps which I use continually as I stitch quilts, diaper bags, appliqued onesies, you name it.

My goal was to group my scraps by color per the suggestion in this fantastic book I purchased the other day.  Organize your scraps by color and you will hear angels singing.  Well, not quite, but they convinced me it would radically improve my creativity and efficiency. 

 
My assistant fell asleep on the job.  It's hard to get good help these days.  Did you notice Bella in the scraps?  She knew just which color she belonged with.

Smart dog.


On to the stash.  "Stash" is quilters' lingo for a piece of fabric bigger than a bread box.  Big enough to not be considered a scrap.  Or something like that.  I separated all my stash fabrics by color and grouped them accordingly.


Which brings me to my handy new storage chest.  This thing rocks. 

Well, actually it rolls, as in, on casters.  But you get my drift. 

First drawer.  Pinks, reds, and yellows.  Oh, baby.  Aren't they gorgeous??

Next drawer, browns, greens, blues, and whites.

Bottom drawer, my favorite fabrics, all 30's reproductions--not organized by color because I typically use them together and don't mix them with other fabrics.  They like to stay with their friends, so they get their own drawer.  Later I may sort them by color.  

Yeah.  Definitely will will sort them by color.


Moving across the room.  This is the baker's rack gone quilter's shelf.  I really should have taken a before shot.  But it would have shattered your image of me.  Let's just say it did look pretty good at one time.  But it was never organized the way I wanted.  Now it looks great.  I could look at it all day.  

The top shelf holds baskets with lesser-used patterns, notions, etc.  Then comes quilting magazines, and a basket with ribbon spools.  Next are the scrap bins.  Etc.  Etc.  That bottom shelf is holding one of those comforter zippy things that you get with blankets at places like TJ Maxx.  It's holding batting and polyester stuffing.  Works great for lots of bags, keeping them all together.  Oh, and the wine holders work nicely for holding rolled up items--in this case, tissue and freezer paper.  Good because jasmine tea would look silly in those holders....
 
Close up of the scrap bins.  I had to combine a few colors such as reds and pinks.  But it is way better than one big overstuffed, crammed, packed, smooshed basket of tangled scraps any day.


A peek into the ribbon basket.  

 
This is a rocker I'm getting ready to slip cover.  I bought a king-sized set of green paisley sheets at Ross for $12--more than enough fabric to easily cover this chair.  It was high time I had a comfy place for visitors to sit while they keep me company.

OK.  Mr. Patience has waited long enough.  Caleb is dying to show you the school cupboard.  Here it is all closed up, the way I like to leave it every day when we finish school.

Here is is all opened up showing the contents I want to hide. 

The curriculum I'm using with Caleb next year, My Father's World from A-Z.  It's kindergarten technically, but it teaches beginning reading, so it's perfect for Caleb.  Besides, you can easily adjust any curriculum up or down a grade level just by adding in or subtracting material in each subject.   I love this curriculum and he will, too.


That right there is his math.  Yep.  Takes up a whole drawer.  But I couldn't resist.  He loves anything to do with numbers and I've heard it is the best out there.  Why not?  I've only used at least ten other math curricula with my other six kids in the past 22 years.  What's one more?  And the re-sale is great if I want to pass it along next year when we're done.


Another view showing the white board, held up by velcro.  I stick that up there for phonics lessons.


While I'm on the subject of phonics, I have to give a huge shout out to my all-time favorite phonics and spelling program.  I've taught six of my seven children to read, but only Holly and Maggie have used this program, The Phonics Road to Spelling and Reading.  It's the best I've ever used.  We're starting our third year.  After this, one more year of the phonics curriculum, then it moves into a Latin course that last another four years.


She hasn't moved very far.  She's busy finalizing her journal she kept while she was in China for three weeks.  And yes, that is electrical tape holding her hand-me-down computer together.  Whatever works. 

That pretty much sums up the sewing/school room revamp.  I'm very pleased that everything has a home.  That's the secret to keeping it in order.  Every item must have a home it can return to.  There is plenty of room to move around, create, study, or just live in here.   So, come on over!